How to Decorate your Christmas Tree Like a Professional
A beautifully decorated Christmas tree with its sparkling lights and stunning ornaments brings instant warmth and holiday cheer to any room. Do you dream of being an expert at decorating your Christmas trees?
With these tips, you will be able to enjoy admiring your beautiful tree throughout the season. Read on, be inspired, and prepare to create space for festive decorations!
Choose a theme and a color scheme
What sets professional Christmas tree decorating apart from amateur attempts is a well-thought-out theme and color scheme. This way, the tree will look polished and neat, without being cluttered.
Here are some popular themes to choose from.
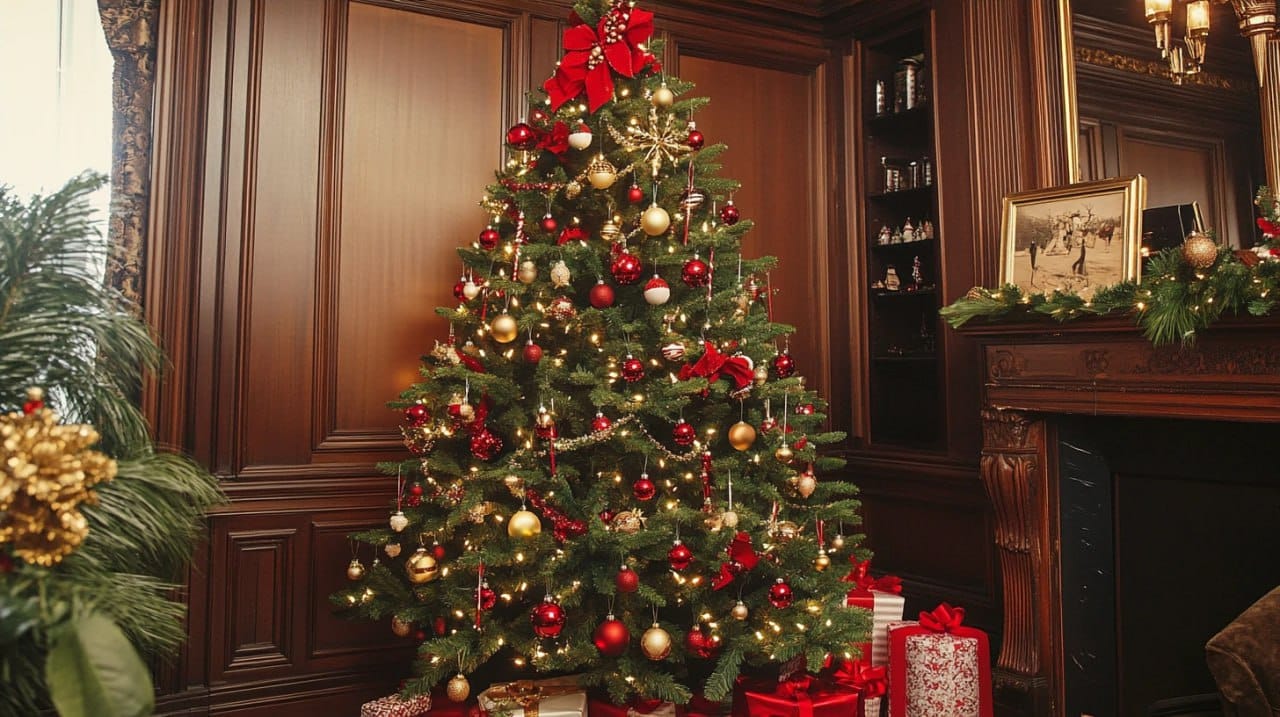
- Traditional. A traditional Christmas tree features classic red, green and gold colors, with timeless ornaments such as baubles, ribbon and stars. This creates a warm and nostalgic atmosphere that captures the essence of old-fashion holiday celebrations.
- Rustic. The rustic theme brings nature indoors with wooden ornaments, pine cones, and warm white lights, creating a cozy and earthy atmosphere perfect for handmade charm.
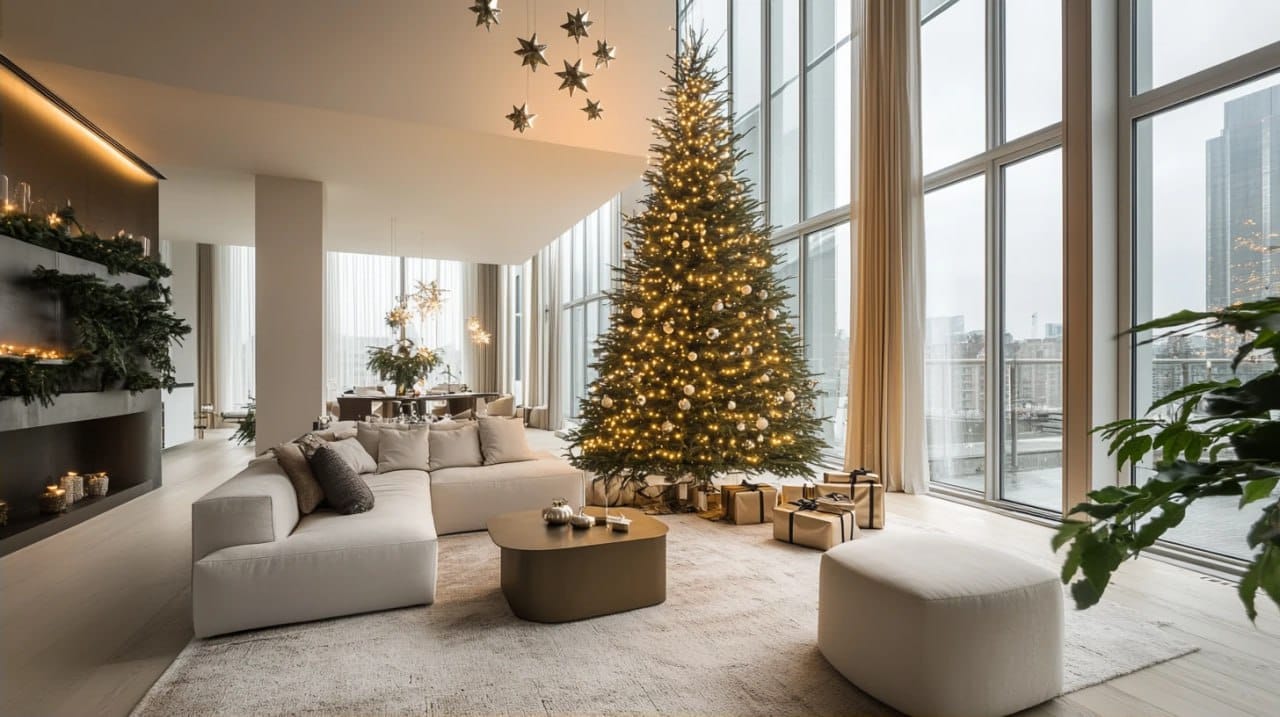
- Minimalist. A minimalistic tree has just a few decorations and appeals to those who love simplicity and style.
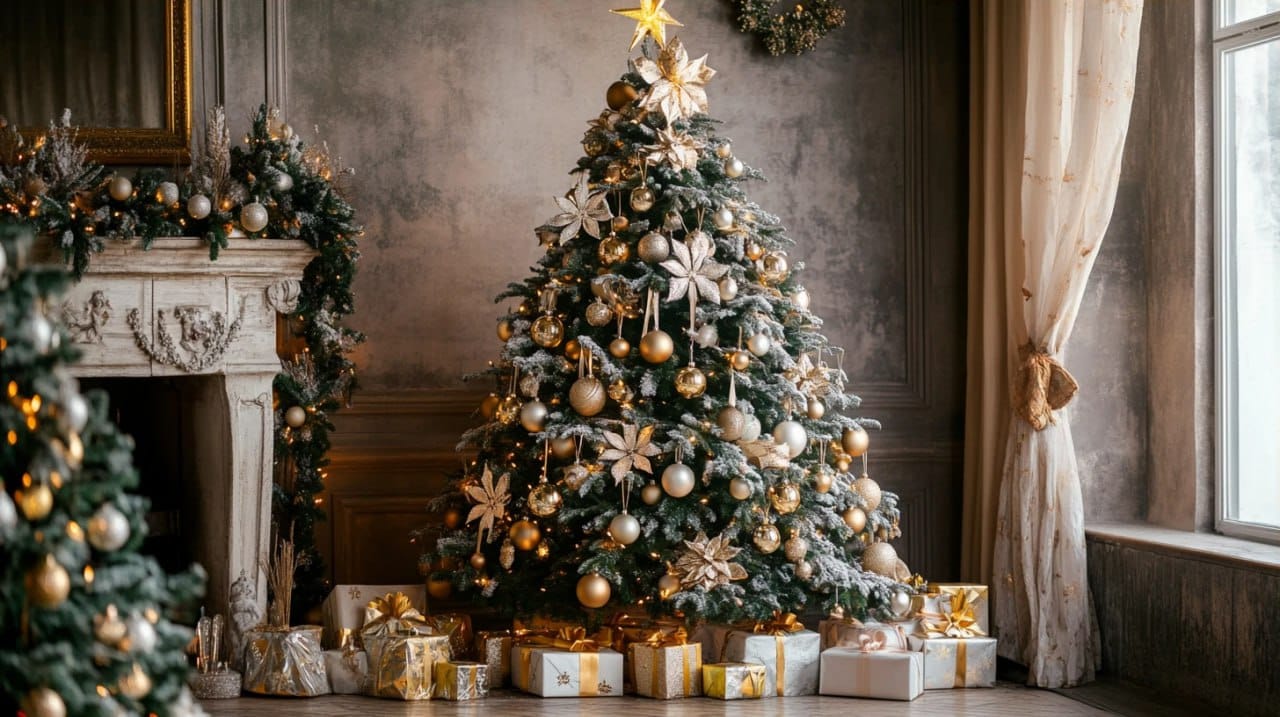
- Glamorous tree. This Christmas tree is perfect for people who like a lot of glitter and sparkles. It has velvety, crystal, or metallic accents.
When you choose a theme, choose a color scheme — beautiful combinations include silver and white, blue and silver, rose gold and blush, red and gold or soft natural colors like cream, ivory, olive green and wood tones and beige — it's great to limit your color combination to two or three - this will make the tree look more professional.
Gather your tools and prepare the tree
Prepare all the parts for your Christmas tree: string lights, garlands, tree topper, ornaments, artificial snow (optional), tree collar, gloves (if using a real tree). Count approximately how many ornaments you need for your entire tree. Ensure that the power outlet is close to your Christmas lights.
Before decorating, fluff the tree to make it more attractive. For an artificial tree, separate and arrange each branch so that it looks neat. Use scissors if some branches on a real tree are disorganized. Ensure the tree stands firmly on its stand. Place a tree skirt or a decorative basket at the base to hide the stand, completing the foundation for decorations.
Add lights and ribbons
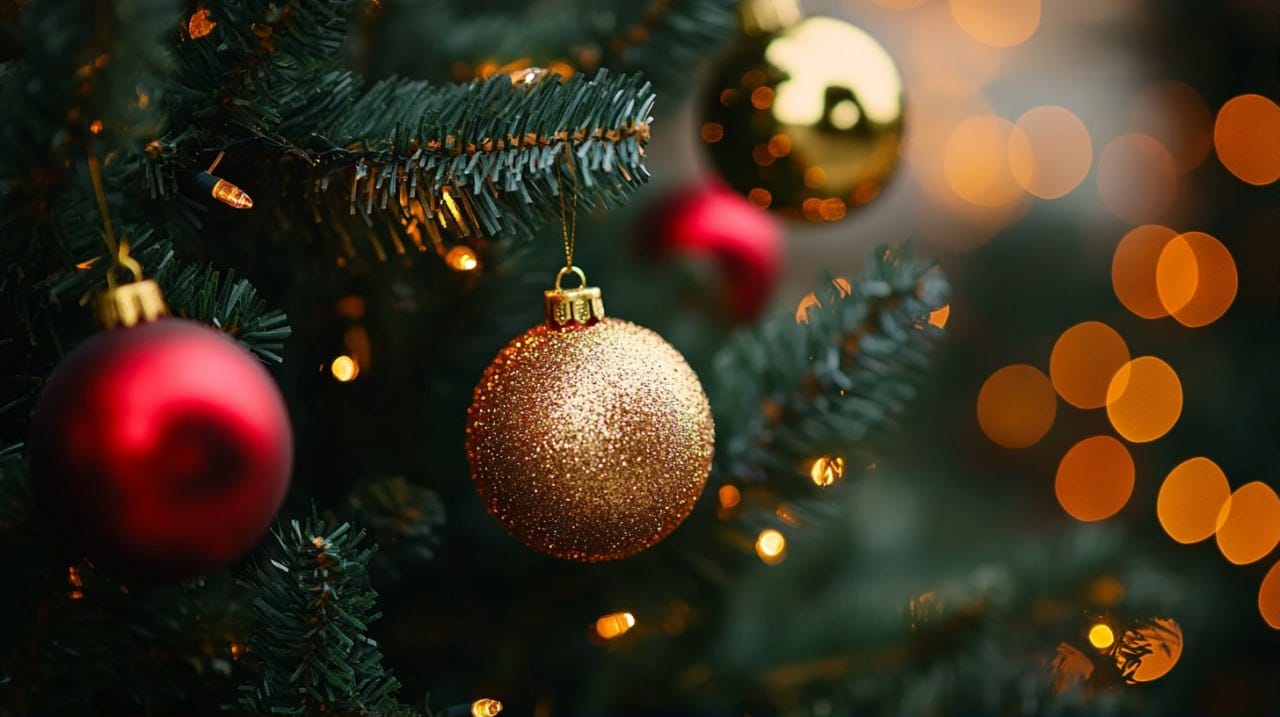
When your tree is ready, start placing the lights at the base of the tree and go upward. Weave the strands in and out to create depth. Make sure that there are no empty spaces without lights.
Begin by placing your lights at the base of the tree and working your way up, weaving strands in and out of branches to create depth and dimension. Place the lights deeper within the branches for an additional sparkling effect.
Opt for energy-efficient LEDs because they use 80-90% less electricity than traditional bulbs and last for hundreds of hours. So, you don't need to replace them often.
Afterwards, carefully place the ribbons and garlands before hanging the ornaments to create a texture. You can choose different placement styles: you can wrap the garlands horizontally in spirals, in a traditional manner, or you can cascade the ribbon vertically to create visual impact. Or, you can tuck the ribbon pieces into branches for a more curated look.
You can bravely combine materials — try combining velvet, satin, or burlap to create contrast and add depth. Lay multiple ribbons on top of each other for a more dramatic effect. The key to maintaining a soft look is to let the material flow freely, allowing the tree to look luxurious.
Hang ornaments
When hanging ornaments, do not do it randomly. Try to do it evenly to avoid empty spaces. Place the biggest decorations in the branches for a dimensional effect. Then, move on to decorating with medium-sized decorations.
Finally, put the smallest decorations on the tips of the branches for a better visual effect. These decorations will be beautifully illuminated by the lights. Also, mix glittery and matte textures, as well as wooden and fabric textures. This will make your tree look more sophisticated.
Add a tree topper
Opt for a tree topper based on the size of your Christmas tree. Popular tree toppers include stars, angels, or bows, but you can also be creative and make your own holiday piece using DIY, crowns, animal figures, origami sculptures, or even a Santa sleigh with reindeer going up to the top.
Make the branches leading up to the top brighter by adding artificial snow, and add a little more decorations than the whole tree has. Take a final look at the tree - it should be symmetric, balanced, and neat. Look at it from all angles and check for empty spaces — they need more decoration. These touches will help create a professional look that will make your tree stand out.
Pro Tips
Look at this table and make sure that you have decorated your Christmas tree like a professional.
| Aspect | Decorating like a professional | Decorating like an amateur |
|---|---|---|
| Tree Preparation | Fluffs branches and secures tree properly | Skips prepping, leaves branches unshaped |
| Lighting | Tests lights first; weaves them in for depth and glow | Places lights unevenly, often only on outer branches |
| Garland Ribbon | Adds garland/ribbon after lights; uses wired ribbon and varied textures | Wraps garland or ribbon inconsistently |
| Ornament Placement | Hangs large ornaments deep inside, medium in middle, small on tips; balances color and texture | Hangs ornaments randomly, often clustering similar sizes/colors |
| Tree Topper | Chooses topper proportional to tree finishing touches | Picks topper without considering size;minimal finishing touches |
| Overall Look | Balanced, polished, visually appealing from all angles | Uneven, cluttered, or sparse with no clear focus |
| Editing Review | Steps back regularly to adjust and edit for best appearance | Rarely steps back or edits placement |
Check if you've followed these tips to make your tree look polished.
- Layering creates depth. Check whether large decorations are placed deep, near the trunk. Then there are medium-sized decorations, and finally, small decorations are at the tips of the branches. This way, the tree looks attractive.
- Commit to a colour palette. Using two or three colours is great for creating a polished look for your tree. Step back and look at your tree. Explore it carefully - it should not have large clusters, unorganized branches, or empty spaces. Correct any flaws if they exist.
- Follow the balance. The tree should be harmonious. Distribute decorations evenly around it. If you put a large visual item on one side of the tree, balance it with a similar-sized or coloured decoration on the other side.
- Use different textures. Combine glitter, matte, and shiny textures for a sophisticated look. Lights first. Always put lights on before decorations. This will allow you to distribute them evenly without hiding the decorations, creating a balanced and lit tree.
- Hide wires and hooks. If you don't, the tree will not look clean or neat. Don't use metal hooks; use ribbon instead. Secure the topper securely. Make sure it is not leaning left or right. Base matters. Choose base coverings that complement your theme. Fake fur, woven baskets, or fabric draperies add a finished look.
Organize a gift exchange
Once your beautiful tree has been decorated, start thinking about how to add even more fun to your holiday season. One of the best things you can do is organize a Secret Santa exchange with your loved ones. Gather around your beautifully decorated tree and film a video of the exchange. This will create unforgettable memories that will last a lifetime.
How does a Secret Santa gift exchange work?
Each participant is secretly assigned to buy a gift, keeping their identity secret until the big reveal at the exchange. Use a free online Secret Santa generator, MySanta App, to keep things organized and make gift-giving easier.

Conclusion
With thoughtful planning and the right techniques, anyone can create a Christmas tree that looks professionally decorated. Do not hesitate to add personal touches that reflect your style. Share your stunning tree on social media or invite friends and family to enjoy the festive atmosphere that you've created.
FAQs
How can I make a budget-friendly tree still look professional?
Use inexpensive tricks like DIY decorations and repurposed decorations. Group ornaments by colour, use lots of ribbon to create impact, and fill in empty spaces with hand-made or natural items like dried orange slices and cinnamon sticks to create a beautiful effect without breaking the budget.
How do I choose the right tree topper to match my theme?
Opt for a tree topping that complements your overall style. For example, a sparkling star works well with a traditional Christmas tree, while a bow or flower arrangement fits a more elegant decor. Make sure that the topping is appropriate for the size of your tree and is securely attached.